

If your Christmas lights are acting like Scrooges, don’t fret! Start by unplugging them—safety first! Inspect for burnt-out bulbs or blown fuses; those little devils are often the culprits. Check for frayed wires and loose connections too. Christmas Lights Oakville wants you to swap out any dead fuses and snug those bulbs back in. After you’ve worked your magic, plug it all back in and wait for the glow! Stick around, and we’ll spill the secrets to making those lights shine bright again.
Big Takeaway
- Unplug the lights and inspect for exposed wires, damaged bulbs, or broken connections to ensure safety before starting repairs.
- Check the fuse compartment for blown fuses and replace them with the correct size and rating if necessary.
- Test individual bulbs for functionality using a bulb tester and replace any burnt-out bulbs.
- Use a multimeter to check for continuity in the wiring and look for frayed or broken sections needing repairs.
- Secure any repairs with electrical tape and ensure all components are properly connected before plugging in the lights.
Understanding Common Issues With Christmas Lights
When you’re decking the halls with your beloved Christmas lights, it’s easy to overlook the fact that these festive strands can be as temperamental as a cat on a hot tin roof. You might find yourself battling burnt-out bulbs that disrupt the whole strand, or a blown fuse that’s turned your dazzling display into a dark abyss.
Loose connections and broken wires can sneak in after a rough storage season, leading to malfunctioning lights when you need them most. Plus, watch out for circuit overload when you connect too many strands to one outlet—your breaker won’t be amused!
And don’t forget about corrosion from the elements; it can wreak havoc on your outdoor lights. Regular maintenance, like checking for visible damage, keeps the holiday spirit shining bright!
Safety Precautions Before Starting Repairs
Before diving into the thrilling adventure of fixing your Christmas lights, let’s get one thing straight: safety first! You wouldn’t want to become a human lightning rod, would you?
So, unplug those lights before you start—trust me, electrical shocks aren’t the kind of holiday cheer you’re after. Inspect for any exposed wires or damage; if you spot them, it’s time to retire that string safely.
Use a non-contact voltage tester to make certain the circuit’s as dead as last year’s fruitcake. And hey, guarantee your tools and replacements are compatible with your lights and have that shiny UL certification.
Essential Tools for Fixing Christmas Lights
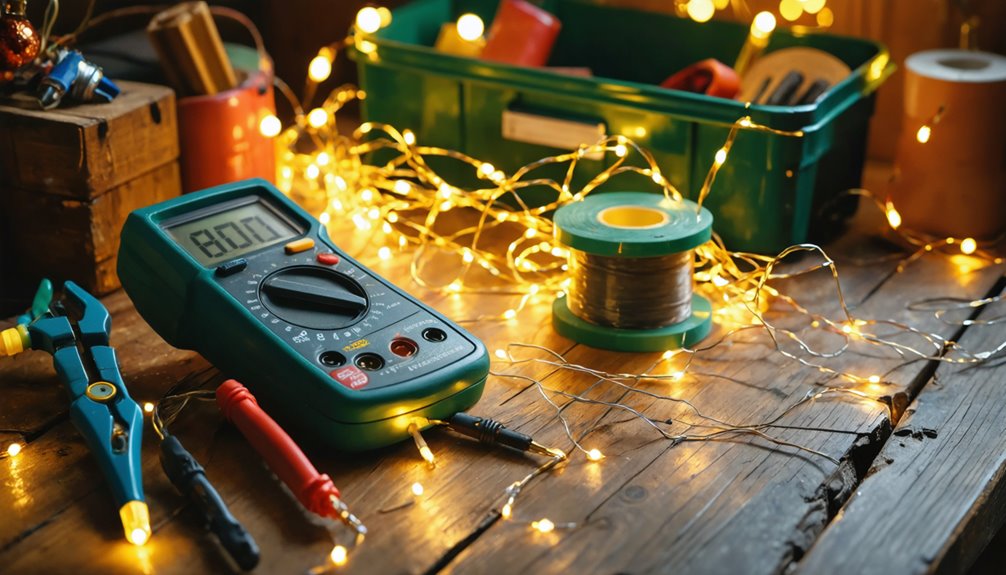
Now that you’ve got safety precautions covered, it’s time to gather your arsenal of tools for the Christmas light rescue mission.
Gather your tools and prepare for a festive mission to save those Christmas lights!
You don’t want to be the holiday Grinch, so let’s get prepped!
Here’s what you’ll need to tackle those twinkling troubles:
- Non-contact voltage tester: Because a zap isn’t the kind of holiday cheer you want.
- Multimeter: For checking continuity like a pro.
- Standard screwdriver: To access those sneaky fuses hiding in the plug.
- Wire strippers: To prepare wires for those oh-so-important soldering sessions.
- Electrical tape: To guarantee your repairs are as secure as Santa’s secret gift list.
And if you’re feeling ambitious, grab some soldering irons for those stubborn broken connections!
Happy fixing!
Identifying the Type of Christmas Lights You Have
How can you tell if your Christmas lights are incandescent or LED without a degree in electrical engineering? Simple! If your bulbs feel like mini space heaters, congratulations, you’ve got incandescent lights!
They’re the warm, cozy ones but not the energy champs. On the flip side, if your bulbs stay cool even after hours of twinkling, you’ve hit the LED jackpot. These lights last longer than your New Year’s resolution—up to 25,000 hours!
For troubleshooting broken bulbs, grab a Christmas light tester to see if a bulb works. And remember, finding replacement bulbs is different for each type, so knowing your lights is key.
Don’t let tangled light strands ruin your holiday spirit!
Checking the Circuit for Power
Checking the circuit for power is like playing detective—only with fewer magnifying glasses and more holiday cheer!
First, check your main service panel to see if the circuit breaker for your outlet is in the “ON” position. A tripped breaker can be a sneaky culprit preventing your Christmas lights from shining bright.
Here’s what you need to do:
- Inspect the circuit breaker for the “ON” position.
- Plug a working strand of lights into the outlet to test if it’s functional.
- Try a different outlet if the first one doesn’t work.
- If multiple outlets fail, you might’ve a bigger electrical issue.
- Always unplug before you start inspecting—safety first!
Inspecting and Replacing Fuses
After ensuring your circuit has power, it’s time to tackle the next suspect in your Christmas light mystery: the fuses.
Head to the plug, where you’ll find the fuse compartment, like a hidden treasure chest of holiday hope. Pop it open and inspect each fuse for any broken or burned filament—those little guys can ruin your festive vibe faster than Aunt Edna’s fruitcake!
Head to the plug and discover the fuse compartment—your secret weapon against holiday light woes! Inspect those fuses for festive failures!
If you spot a blown fuse, replace it with one that matches the size and rating. If all fuses look intact, test them individually; some might look fine but aren’t conducting electricity.
Once you’ve replaced the culprits, plug everything back in and watch the lights dance. Success! Your holiday spirit is officially restored.
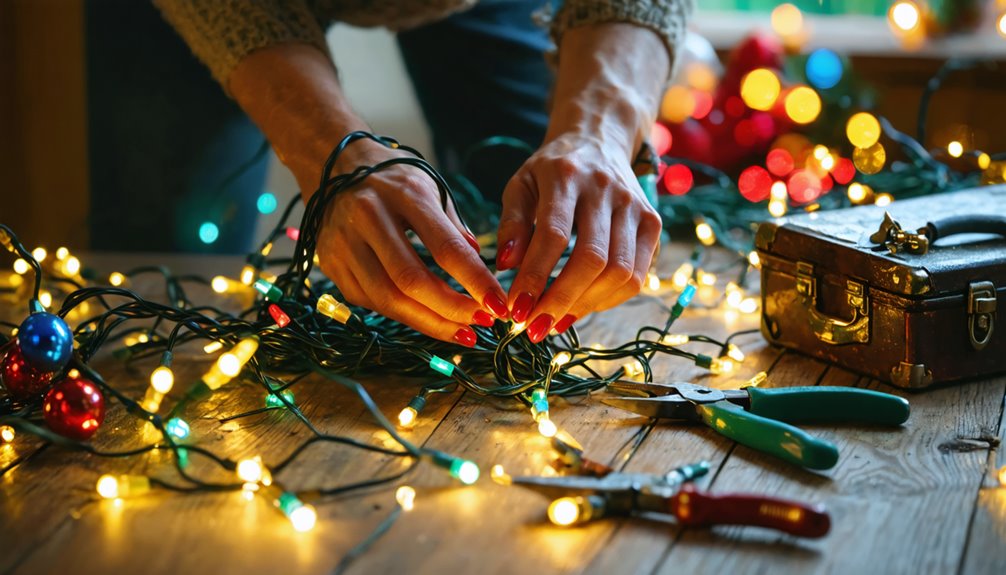
Examining Bulbs and Wiring for Damage
While you’re feeling festive and ready to light up your space, don’t forget to give your bulbs and wiring a little TLC. You don’t want to be the house on the block with broken Christmas lights, do you?
Here’s what to look for:
- Examining bulbs: Check for darkened filaments or broken glass—those burnt-out bulbs need a swift replacement.
- Loose connections: Make sure all bulbs sit snugly in their sockets; a rogue bulb can dim your holiday spirit.
- Frayed wires: Inspect for exposed wires that scream “safety hazard!” and may require a whole new string.
- Damaged wires: Look for wear and tear on insulation; safety first!
- Bulb tester: Use this handy tool to test individual bulbs instead of changing the entire strand.
Happy inspecting!
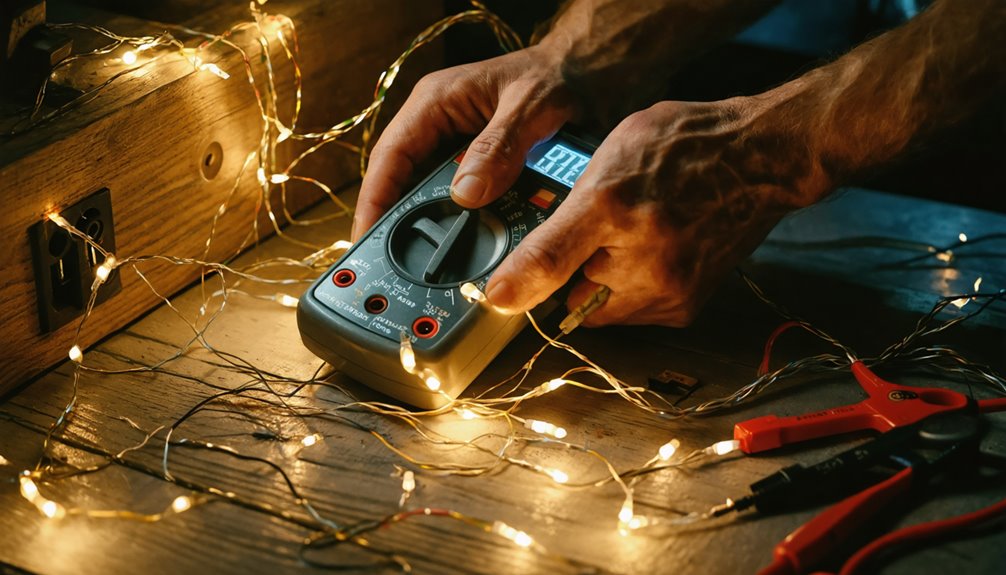
Testing Lights After Repairs
Once you’ve put in the elbow grease to repair your festive lights, it’s time to give them a little test run—think of it as the moment of truth for your holiday handiwork!
First, plug the lights in to verify they’re all aglow. Test sections of the string to check for any pesky remaining non-working areas.
If you’re feeling fancy, grab a multimeter to check for continuity; it’s like a spa day for your wiring! Make sure all replaced bulbs are seated properly—no one likes a slouchy bulb!
If they still don’t light up, recheck connections and components. Remember, holiday cheer is only a flicker away, so don’t give up on your twinkly dreams just yet!
Frequently Asked Questions
Is There a Way to Fix Broken Christmas Lights?
Got broken Christmas lights? You’ll need bulb replacement tips, a trusty fuse checking guide, and some wiring inspection techniques. Don’t forget safety precautions and perhaps an LED upgrade! Troubleshooting strategies make it a merry task, right?
How Do You Fix Christmas Lights When Half String Is Out?
When half your Christmas lights are out, it’s time to roll up your sleeves! Try bulb replacement techniques, check fuses, inspect wiring, and use a multimeter—just don’t forget your safety precautions checklist! Happy troubleshooting!
How to Find Out Which Bulb Is Blown on Christmas Lights?
To find that sneaky blown bulb, you’ll want to channel your inner detective! Try bulb testing methods, do a visual inspection, and don’t forget your multimeter. Just remember, electrical safety first—no one wants to become a holiday spark!
What Causes a Whole String of Lights to Burn Out?
Imagine a party where burnt fuses trip the music, faulty connections spill drinks, and age deterioration dims the lights. Weather exposure and overloading circuits crash the fun. Improper storage? That’s just asking for chaos!
Our Summary
So, tackling those broken Christmas lights is like untangling your favorite holiday sweater—frustrating but totally worth it! With a little patience, some handy tools, and a dash of holiday cheer, you can bring the sparkle back to your season. Remember, you’re not just fixing lights; you’re reviving a festive spirit! So plug in your efforts, and watch your hard work shine brighter than your neighbor’s over-the-top decorations. Happy repairing!