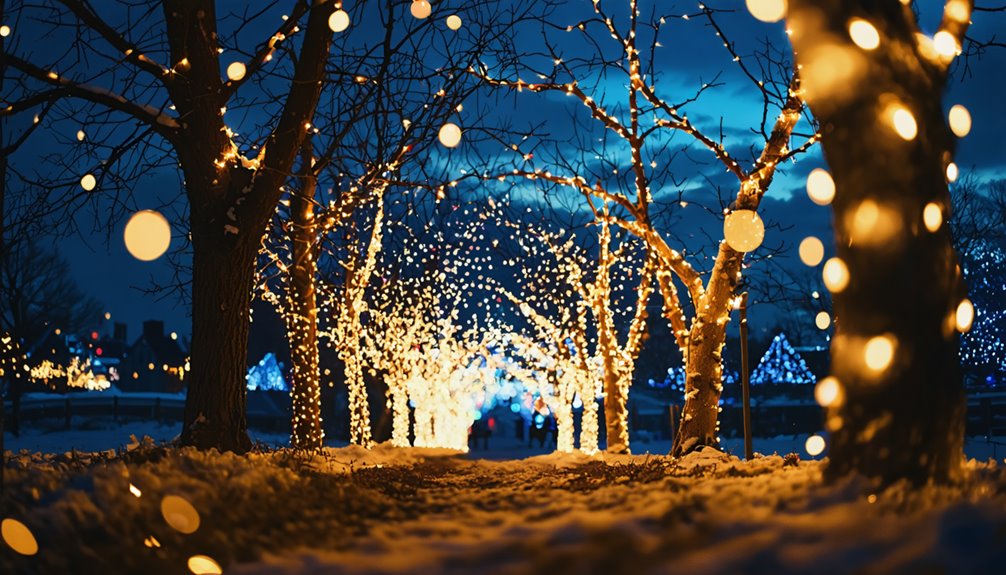
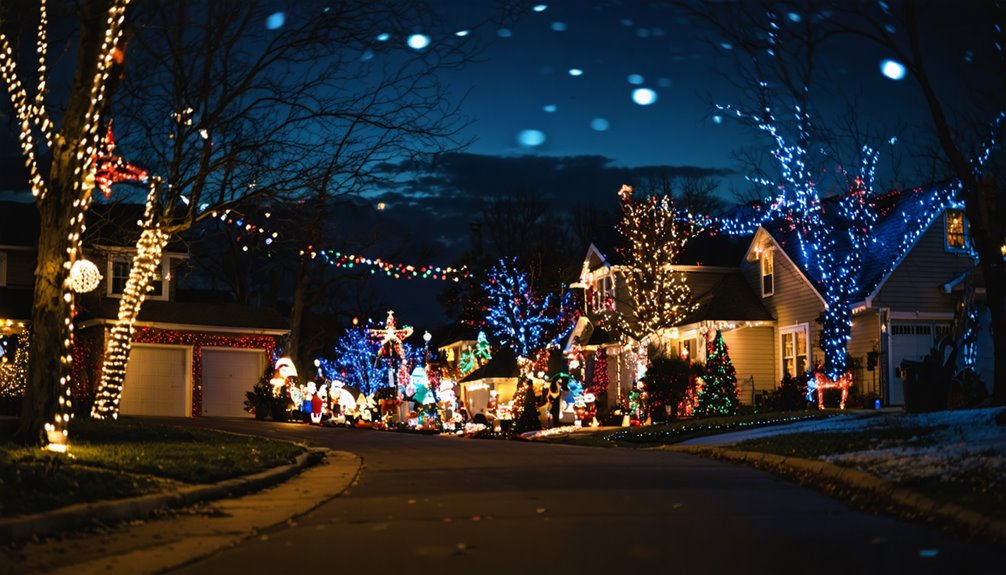
To capture those twinkling Christmas lights like a pro, start with an ISO around 400—too high, and you’ll get a grainy mess. Set your aperture between f/2.8 and f/4 to make those lights pop. Keep your shutter speed around 1/50th of a second—any slower, and good luck avoiding shake! Christmas Lights Oakville wants you not forget to tweak exposure compensation when things get bright. Trust me, your holiday photos will thank you—and there’s more magic to discover!
Big Takeaway
- Set your ISO around 400 to balance sensitivity and image quality, avoiding graininess above 800.
- Use an aperture between f/2.8 and f/4 for vibrant, well-exposed Christmas lights.
- Start with a shutter speed of 1/50th of a second for handheld shots; adjust for brighter scenes.
- Use manual mode to independently control ISO, aperture, and shutter speed for optimal results.
- Apply exposure compensation of -1 or -2 stops to enhance colors and prevent overexposure of lights.
ISO Settings for Low Light

When you’re trying to capture those dazzling Christmas lights, you’ll want to start with an ISO setting of around 400—unless you enjoy grainy photos that look like a snowstorm hit your camera.
For stunning Christmas lights, kick off with an ISO of 400—grainy photos are so last season!
This sweet spot balances sensitivity with image quality in low light. Don’t push it past ISO 800, or you’ll release the graininess monster, ruining those vibrant holiday hues.
If you’re shooting handheld, keep your shutter speed at least 1/50th of a second to dodge that pesky motion blur.
And hey, if you’re feeling fancy, try using Auto ISO; it adjusts to the changing light conditions like a seasoned pro.
Aperture Adjustments for Bright Lights
Now that you’ve got your ISO settings in check, let’s talk about aperture adjustments for those dazzling Christmas lights.
Getting your aperture right can transform your photos from “meh” to “whoa!” Here’s what you need to know:
- Set your aperture between f/2.8 and f/4 for those warm, vibrant lights. It’ll keep the bright lights from overexposing and create stunning bokeh effects.
- Experiment with wider apertures for close-ups of ornaments. It gives a shallow depth of field, making those twinkly lights pop!
- For entire displays, crank it up to a higher aperture like f/6 to f/10. You’ll capture more in focus while still enjoying that magical atmosphere!
Shutter Speed Recommendations

Shutter speed is your best friend when it comes to capturing those twinkling Christmas lights without turning your photos into a blurry mess. Start with a shutter speed around 1/50th of a second for decent light capture, especially if you’re dodging motion blur from excited kids or roaming pets. If you’ve got a tripod, let’s get wild with longer exposure times—1 to 4 seconds, anyone? For handheld shots, though, stick to 1/50 or faster to avoid that dreaded camera shake. Want dynamic light trails? Go for slower speeds (1/8 to 1/2 second) but keep that tripod steady. Adjust shutter speed based on the scene’s brightness; underexpose by 2-3 stops to keep those bright lights from looking like the sun.
| Shutter Speed | Use Case | Notes |
|---|---|---|
| 1/50 | Standard Indoor Shots | Avoids motion blur |
| 1-4 seconds | Tripod for Dark Settings | More light capture |
| 1/8 to 1/2 | Dynamic Light Trails | Use with a tripod |
| Faster than 1/50 | Handheld Shots | Prevents camera shake |
| Adjust as needed | Brightness Variations | Underexpose if too bright |
Using Manual Mode for Control
Capturing the magic of Christmas lights isn’t just about shutter speed; it’s also about taking the reins with your camera settings. Enter manual mode, your new best friend. With it, you can adjust your ISO, aperture, and shutter speed independently—like a kid in a candy store!
- Aperture: Start between f/2.8 and f/4 for dreamy bokeh effects while letting in enough light.
- ISO: Kick off at 400. Keep it under 800 to dodge that pesky noise in low light.
- Shutter Speed: Begin around 1/50th of a second, tweaking it depending on the ambient light.
And hey, don’t forget to use manual focus for those razor-sharp images of your holiday displays!
Exposure Compensation Techniques

While you’re out there soaking in the holiday cheer, it’s easy to forget that those dazzling Christmas lights can play tricks on your camera’s exposure meter.
To keep those bright holiday lights from turning into overexposed blobs, you’ll want to adjust the exposure compensation. Try using a lower value, like -1 or -2 stops, to bring out the colors and details without blowing them out.
Keep an eye on your shots—especially when the scene shifts from twilight to full darkness. If you’re using Olympus cameras, the LIVE TIME feature lets you tweak the exposure in real-time.
Feeling adventurous? Experiment with exposure bracketing for a snazzy HDR effect.
Happy shooting, and may your photos shine as bright as your holiday spirit!
Frequently Asked Questions
What Camera Setting Is Best for Christmas Lights?
When you’re diving into Christmas light photography, try f/2.8 for festive bokeh, ISO 400 to dodge grain, and a tripod with long exposure settings. Managing light flares? You’ve got this! Edit those holiday photos later!
What Setting Should Christmas Pictures Be On?
When snapping those Christmas pictures, you’ll want to play with your aperture, ISO, and shutter speed. Think festive bokeh effects and vibrant holiday colors to capture that holiday spirit in your winter wonderland shots!
How to Make Christmas Lights Look Good in Photos?
To make Christmas lights pop in photos, you’ll wanna play with exposure time, use a tripod, and choose a lens that captures bokeh effects. Don’t forget editing techniques to enhance that holiday spirit—cheers to festive ambiance!
What ISO Should I Use for Christmas Lights?
When shooting Christmas lights, you’ll want ISO settings around 400 for that festive sparkle. Keep it low to reduce noise, and don’t forget your aperture adjustments and shutter speed to capture the magic!
Our Summary
So, as you venture out to capture those twinkling Christmas lights, think of your camera as Santa’s trusty sleigh—decked out and ready for the ride! With the right ISO, aperture, shutter speed, and a sprinkle of manual magic, you’ll create photos that shine brighter than Rudolph’s nose. Just remember, if all else fails, blame the eggnog and have fun! After all, the best memories are the ones that twinkle in your heart, not just on the screen!

